Different Page Number Word For Mac
Different Page Number Word For Mac Rating: 6,3/10 8649 reviews
Background In a document I'm preparing, I have the following sections: • Cover page, table of contents, introduction, etc. -- portrait orientation • The second section, some challenges -- landscape orientation due to space limitations • Third section, some recommendations -- portrait orientation again. I use section breaks to accomplish the different page orientations. Problem While the section breaks work well for orientation, it looks like they throw off MS Word's Table of Contents, which starts over at page 0 for each section: Question How can I get MS Word Table of Contents to ignore section breaks for the purposes of page numbering, so that I can have continuous numbering of my pages? Figured it out! The key here is that each section of a document has its own page number configuration settings.
Therefore, you have to set the page format within each section of the document. If you have a document, do the following for each section: • In the section, click into the header or footer of the section.
You can use styles for page numbers in one section of your document that. Add different page numbers or number formats to different sections in Word for Mac.
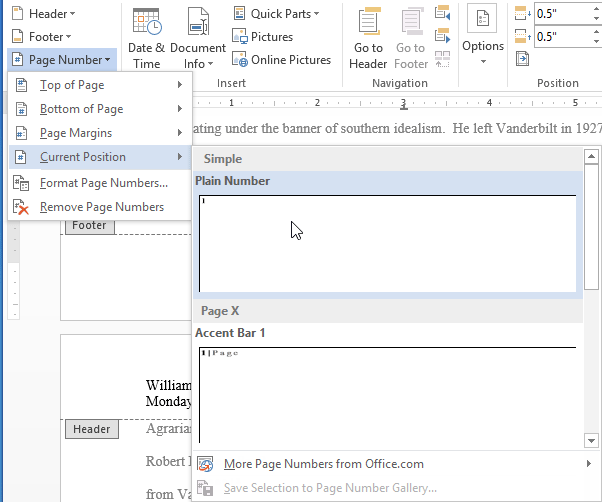
• In the Header & Footer Design Tools menu, select Page Number --> Format Page Numbers. • In the Page Numbering section, select 'Continue from Previous Section'. Once you adjust this setting for each section, your page numbers will again be continuous as you'd expect them to be. Note: this answer applies to office 2013 (and likely 2010/2007), but your mileage may vary.
Edit by: Note there is one limitation to be aware of. This solution does not work in certain cases if there are multiple sections on one page. If a page number looks to the previous section for its page numbering cue, but the previous section is in the middle of the same page, then there will be no page number on the bottom. This answer is not for the initial user but for any subsequent users who wish to figure this out.
Download iphoto for osx 10.9. It builds on the first response.
• Open a multipage document in Word. • On the first page, double-click at the top of the document in the area where the header will appear or at the bottom of the page where the footer will appear to open the Header & Footer tab on the ribbon. • Click the Header icon or Footer icon and select a format from the drop-down menu. Type your text into the formatted header. You can also bypass the format and click in the header (or footer) area and begin typing to manually format the header or footer. • The information appears in the header or footer of every page of the document.
- суббота 15 сентября
- 82