How To Setup New Disk For Mac Install
How To Setup New Disk For Mac Install Rating: 5,9/10 5763 reviews
To erase the non-startup drive, use a Mac's Drive Using Disk Utility (OS X El Capitan or later) After the non-startup drive is erased, you can start the install process. Step 2: Download the macOS Sierra Installer from the Mac App Store. When the macOS download completes, it will automatically launch the installer.
Windows 10 • • • • I went through this process last year with a four-year-old PC, a Dell XPS 18 whose performance was dragging. (I've updated this post to incorporate a few minor changes you'll encounter when using the most recent release of Windows 10.) My old PC had 8 GB of memory, more than enough for basic productivity tasks, but the vintage 5400 RPM hard disk had become a serious bottleneck.
Fortunately, the prices of solid-state storage devices have dropped dramatically in recent years, so I was able to pick up a new SSD for a fraction of what it would have cost when this PC was new. After backing up the old hard drive, I could have restored a system image to the new drive, but this seemed like a perfect opportunity to start fresh. By registering you become a member of the CBS Interactive family of sites and you have read and agree to the,. You agree to receive updates, alerts and promotions from CBS and that CBS may share information about you with our marketing partners so that they may contact you by email or otherwise about their products or services.
You will also receive a complimentary subscription to the ZDNet's Tech Update Today and ZDNet Announcement newsletters. You may unsubscribe from these newsletters at any time. ACCEPT & CLOSE.
Looking for a way to install and run OS X on an external hard drive? This can be useful for a couple of different reasons. Firstly, it allows you to run another copy of OS X without needing any additional Mac computer. Also, since you can run a full copy of OS X on the external drive, it can be used for troubleshooting purposes on other Macs or it can be as a kind of virtual OS X. I’ve already written about how you can, but that takes up space on your Mac. Using an external drive, you can save space on your Mac, though it might be a bit slower if you are using USB 2.0.
In this article, I’ll walk you through the requirements and steps to install OS X onto an external hard drive. Format External Hard Disk The first thing you’re going to need to do is format the external hard drive properly. The file format has to be Mac OS X Journaled and you have to use the GUID partition map. To do this, open Disk Utility and connect the drive to your Mac. Under External in the left hand menu, click on your external hard drive and then click on the Erase button. Make sure you backup any data before you erase the drive.
When you click Erase, a dialog will pop up where you can configure some options. Give your drive a name, choose OS X Extended (Journaled) for Format and GUID Partition Map for Scheme. It should only take a minute or two for the drive to be erased and reformatted. Now your drive is ready for OS X. Install OS X There are two ways you can install OS X on to your external hard disk: by reinstalling OS X from the OS X Utilities repair screen or by downloading OS X from the App Store and running the installer. I’ll show you both methods in case one isn’t working for you. The easiest way is to download OS X from the App Store.
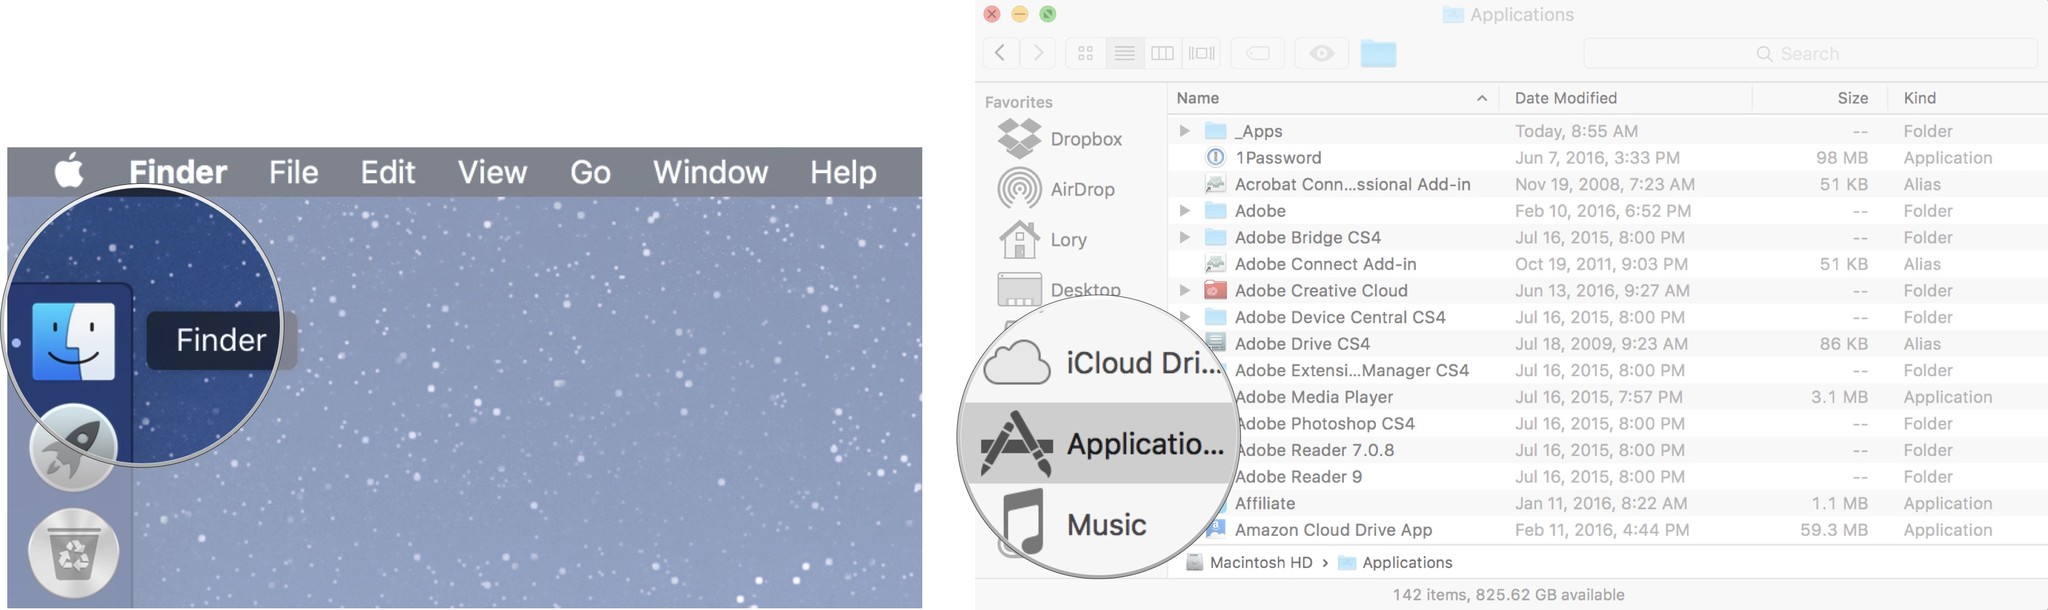
Once you open the App Store, you’ll see a link on the right for the latest version of OS X (El Capitan as of this writing). Go ahead and click the Download button to start downloading the installer. Note that if you already have that version of OS X installed, you’ll see a popup message appear asking if you still want to continue or not. Just click Continue. Once it has been downloaded, just double-click the installer, which will be located in the Applications folder. Keep clicking past the license agreement, etc., until you get to the screen that asks you which disk to install OS X on.
By default, it is set to MacBook. Click on the Show All Disks button and you’ll see an icon for the different disks and partitions on the Mac.
Skype log viewer for mac. I named my external hard drive OS X and that shows up in the middle. You can also tell it’s an external hard disk because it uses the icon with the orange hard drive. Click Continue and then follow the instructions to complete the installation.
- понедельник 22 октября
- 26