How To Create Labels From An Excel 2011 For Mac Spreadsheet
How To Create Labels From An Excel 2011 For Mac Spreadsheet Rating: 5,6/10 2359 reviews
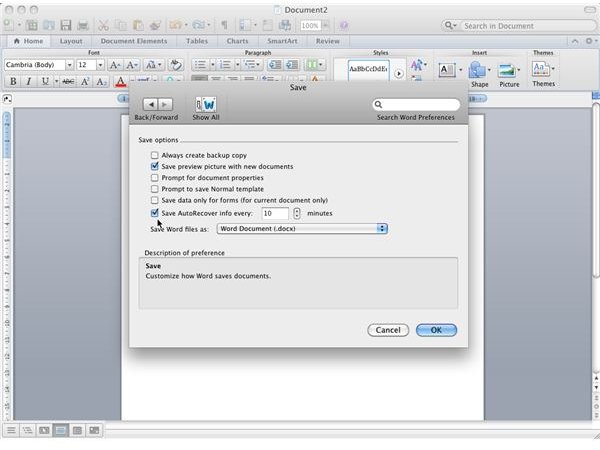
So when making labels from Excel without Word you won't get a lot of customization, but it will get labels going. Again, this is for the common 5160 label. How to make labels from Excel without using Word; 0 Comments. Label the cells in the A Row as follows, with one label in each cell: Name, Address, City, State, Zip Code. Fill in the appropriate information for each of the address labels you would like to make starting in row B and below. Save the Excel spreadsheet to the desktop or to a place where you can easily find it. Close the document and Excel.
In PowerPoint even though you can use Category or Series names as, most of the time users tend to use Values as Data Labels. Values are typically numbers, and there are many ways in which you can format these Data Labels. You may want to do so for several reasons such as limiting or expanding the number of decimal digits shown, or to show a currency symbol along with the values, or even to show the value in percentage etc. Figure 1 shows a sample chart with values added as Data Labels with no changes made as yet. Do note that these format changes can be made both within Excel and PowerPoint. In this tutorial, we explore how you do so in Excel at the data level (all data for PowerPoint charts resides in Excel). In the next tutorial of this series, we will show you how you can. Paw print driver for mac.
Figure 1: Chart with Data Values added as Data Labels Follow these steps to learn how to format the values used in Data Labels within Excel 2011: • Select the chart -- then select the Charts tab which appears on the, as shown highlighted in red within Figure 2. Within the Charts tab, click the Edit button (highlighted in blue within Figure 2) to open the Edit menu. Within the Edit menu, select the Edit Data in Excel option as shown in Figure 2.
Figure 2: Edit Data in Excel option • This opens your chart data within Excel as shown in Figure 3. Figure 3: Chart data opened within Excel • Now, select all the data values, as shown in Figure 4. Figure 4: Data values selected • Right-click the selected data to access a contextual menu as shown in Figure 5 -- from this contextual menu, select the Format Cells option (refer to Figure 5 again). Figure 5: Format Cells option within the contextual menu • This will summon the Format Cells dialog box. Make sure that the Number tab (highlighted in red within Figure 6) is selected so that you can view the number format options that you can see in Figure 6. Figure 6: Number format options within the Format Cells dialog box Out of various formats that you can see within Category list in Figure 6, the most commonly used ones are Number, Currency, Accounting, and Percentage.
Let us explore these options one by one: A. Number This Category is used to display the numbers in general format.
The options that you get within Number format, as shown in Figure 6, are: • Decimal places: You can decide the number of decimal places you want to show in the Data Labels. Type within the box the number of decimal places to be shown, or use the up and down arrows. • Use 1000 Separator (,): Select this check-box to use a comma to group the digits of Data Values in thousands.
• Negative numbers: Here, select a format in which you want the negative values to be displayed. Currency This format is used to display monetary values. Here you will find Decimal places, Currency symbol, and Negative numbers options, as shown in Figure 7. Figure 7: Currency format options within the Format Cells dialog box Decimal places and Negative numbers options work similarly as they do with Number format.
Currency symbol selection box (highlighted in red within Figure 7, above) provides you with various currency symbols to be shown as part of Data Labels. Accounting Formats the Data Labels to include the currency symbol and also specified number of decimal digits. Percentage Multiplies the values by 100 and displays the results along with a percentage symbol and specified number of decimal digits, as Data Labels. • Select options as required. When done, click the OK button to get back to your data sheet. Now you can see that the selected values within the data sheet are formatted based on the selections we made. In Figure 8, you can see our sample data sheet after we formatted the cells (compare Figures 4 and 8).
- пятница 15 февраля
- 83