Configure Outlook For Mac 2016
Configure Outlook For Mac 2016 Rating: 6,0/10 6900 reviews
There are now two options for setting up your email client. Option 1 is preferred, but does have some prerequisites. Option 1 - Use mail.your.domain for inbound and outbound mail server (IMAP Hostname and SMTP Hostname) Prerequisites Your domain’s A record must be pointing to your Krystal hosting server. If your domain is registered with Krystal then this is likely the case. You must have SSL enabled for the domain. Once your domain is correctly pointing to Krystal a free LetsEncrypt certificate will be issued automatically. If you meet these requirements then you can use the format mail.your.domain for the inbound (IMAP Hostname) and outbound (SMTP Hostname) mail servers in the instructions below e.g.
If your domain is example.co.uk then you would use mail.example.co.uk as the inbound and outbound mail server names. This option has the benefit of meaning that should you change hosting servers at any point you won’t need to re-configure any email clients. Once the DNS has updated for your new server A record the clients will continue to be able to send and receive email.
The Automatic import feature will start the first time you open Outlook for Mac 2016 and help you import your MIT Exchange email and calendaring account You can click the button to import all your settings and mail from a previous version of Outlook for Mac. If this is a new set up click Not Now. Bluestacks pokemon go hack for mac pro.
Option 2 - use the server hostname for inbound and outbound mail server This option has no prerequisites. However, you should be aware that if you use this method, and at a later date change hosting servers you will need to re-configure any email clients. If you are a reseller this would also impact all your client accounts.
Step 1 Start Outlook for Mac from the Dock or by opening it from the Applications folder. Step 2 Select Preferences. From the Outlook menu. Step 3 Select Accounts from the Outlook Preferences window. Step 4 In the Outlook preferences window select the + symbol in the bottom left corner.
Step 5 Enter your new email address - this should be the full email address you created in cPanel - then click Continue. Outlook will try to autodiscover your email account details and fail. This is normal.
It will then ask you for further details. Node.js visual studio for mac. Step 6 Select IMAP/POP. Step 7 Complete the IMAP/POP account details screen as follows: • Type: IMAP • Email Address: This should be the full mailbox address you created in cPanel.
• Username: This will be the same as entered in the Email Addres field. • Password: This will be the password you set for the email account in cPanel. • Incoming Server: This should be set to your Server Hostname.
This is given in your welcome email and may be different to the one shown. • Incoming Port: 993 • Use SSL to connect (recommended): Checked • Outgoing Server: This will be the same as Incoming Server field. • Outgoing Port: 587 • Use SSL to connect (recommended): Checked Click Add Account. NOTE: If Outlook fails to connect please check your internet connection is working, and the server details entered are correct. Contact support if you have a query. Step 8 Your account has been added successfully. Step 9 Return to the Accounts pane of the Outlook Preferences.
Follow Steps 2 and 3 for a reminder of how to get there. Select your new email account from the left menu if it isn’t selected already. Once selected, click Advanced in the bottom right. Step 10 Enter INBOX within the IMAP Root Folder field and click OK.
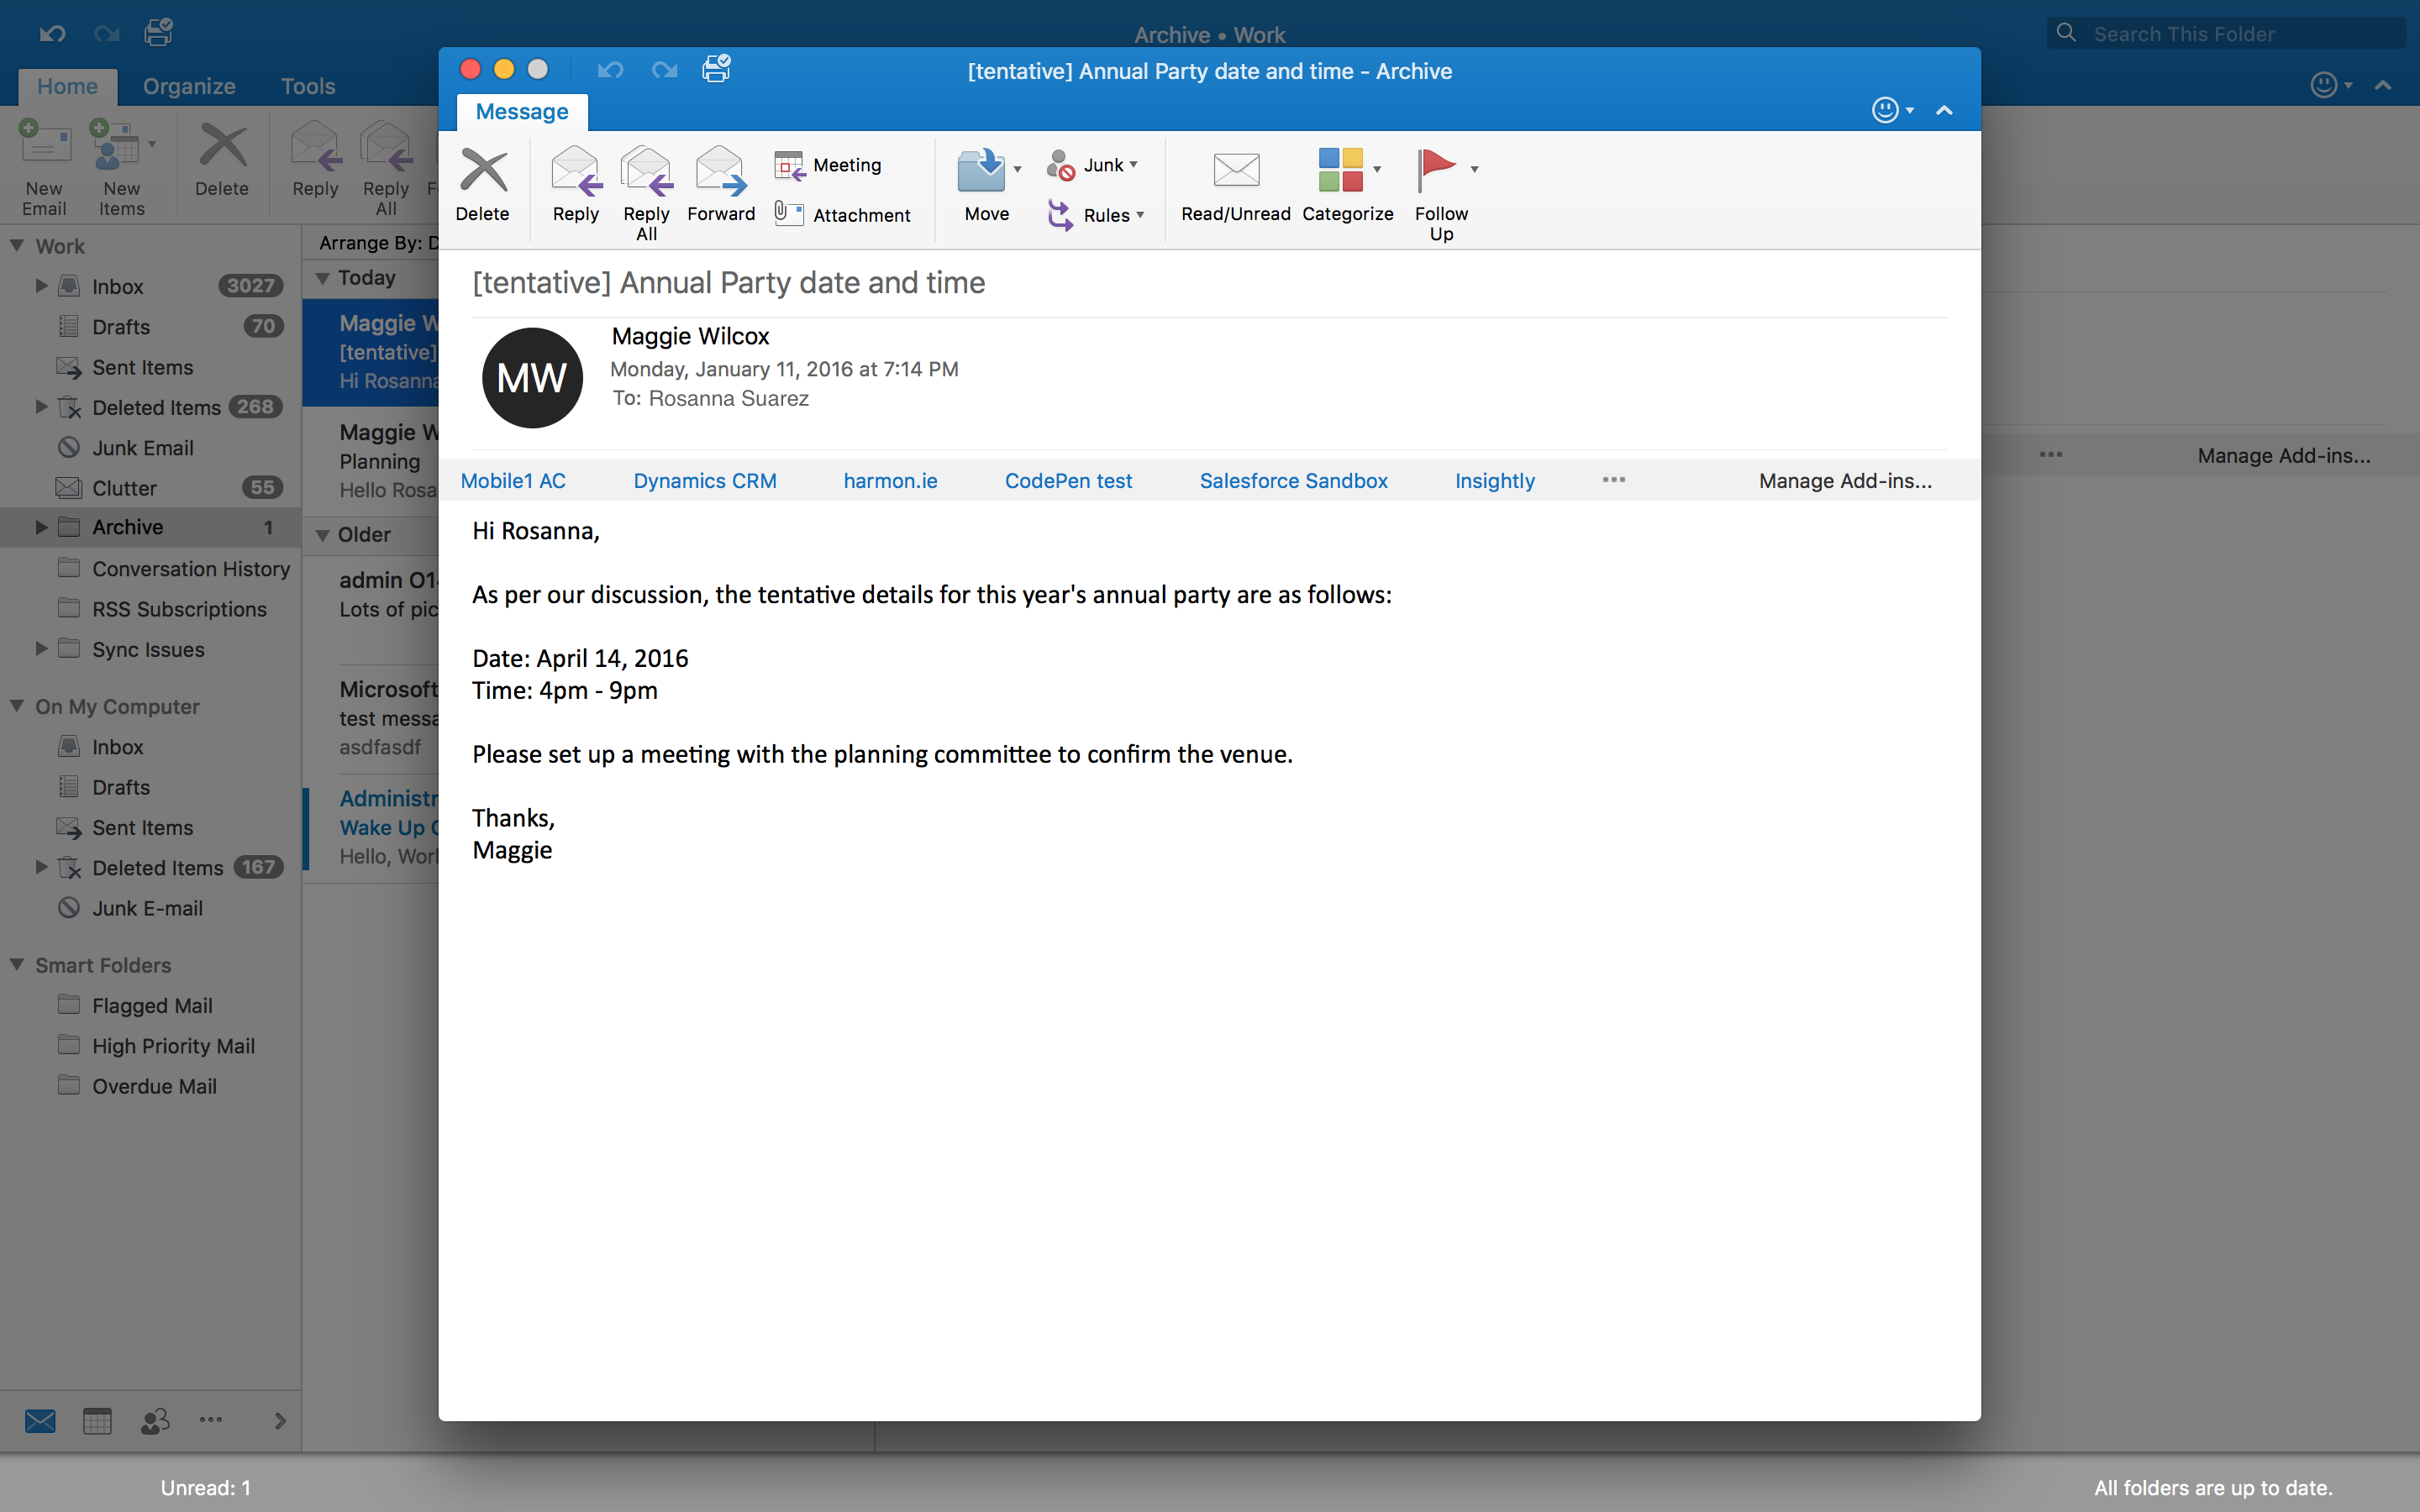
Step 11 That’s it. You’re all setup. You may now close the Outlook Preferences windows and return to the Inbox as seen here. If you have any emails in your account they’ll begin to show. If this is a new email account then it your Inbox will be empty until you receive your first email. Tags from this guide: • • • • Related guides: • • • • •.
- воскресенье 26 августа
- 98